Ever found yourself squinting at a crooked frame on the wall, wondering how it looked so perfect when you stepped back just five minutes ago? Or maybe you’ve spent hours in the backyard, eyeing that fence post that just doesn’t look right. It’s not your eyes playing tricks—it’s a job for a laser level. This handy tool not only saves your back from endless measuring and re-measuring but also ensures everything you install is flawlessly aligned, from the pictures on your living room wall to the fence in your garden.
What is a Laser Level?
A laser level is a control tool relied upon in construction and DIY projects to emit a straight, steady laser beam along a horizontal or vertical axis. Think of it as a futuristic upgrade from the traditional bubble level, which requires a steady hand and a good eye. Laser levels come in various forms: from simple point lasers that show you where to drill or hang, to complex rotary lasers that can map out a room or landscape with a 360-degree line.
Preparing to Use a Laser Level
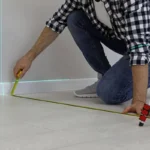
Before starting the work, proper setup is key. Start with a good foundation—ensure your laser level is placed on a stable, level surface. Most models are either self-leveling or require minimal manual tweaking to get started. This is also a good moment to double-check the battery or power source, so you’re not left hanging midway through a project.
And remember, safety first! Don’t stare directly into the laser beam, as tempting as it may be to watch that brilliant red or green line slide across your work surface.
Step-by-Step Guide on How to Set Up Your Laser Level
Mounting the Laser
If your laser level comes with a tripod, set it up following the manufacturer’s instructions. If not, any sturdy, flat surface at an appropriate height will do. The goal is to align the laser beam at the desired height and angle. For projects that require precision, like tiling or long-range landscaping, investing in a tripod can make all the difference.
Leveling the Laser
For the most accurate results, your laser level needs to be perfectly horizontal or vertical. This is where self-leveling models shine, as they automatically find and maintain level within a certain range. For manual models, you’ll typically use bubble vials or screws to adjust the level. Turn on the device, give it a moment to stabilize, and adjust as needed until your level is set.
Common Applications of Laser Levels
Indoor Applications
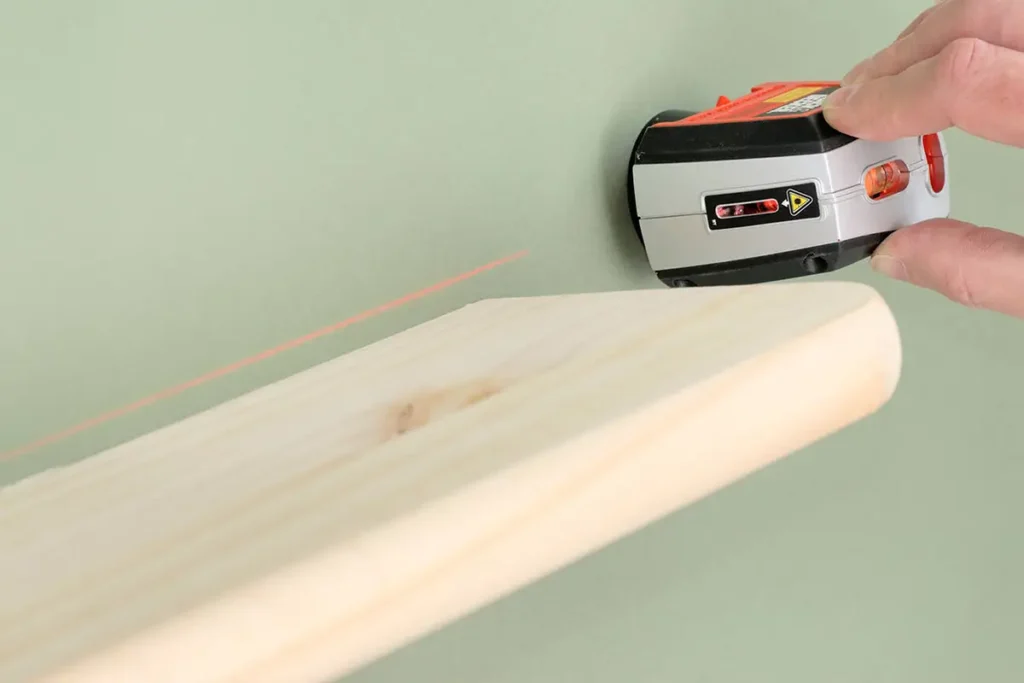
Picture this: you’re setting up a gallery wall. Aligning each frame to perfection is no small feat—unless you have a laser level. By projecting a horizontal or vertical beam across your wall, a laser level acts as your guideline, ensuring everything hangs just right. This method is perfect not just for art, but for installing shelves, cabinetry, and even for ensuring your home décor items sit in picture-perfect harmony.
Outdoor Applications
Outside the house, laser levels become invaluable in larger scale projects. Whether you’re installing a deck or laying down a foundation, the laser level points the way, ensuring everything is square and level. For garden landscaping, it can help plot out clear lines for planting or hardscaping, saving you the guesswork and backache associated with traditional methods.
Advanced Techniques
Perfect for any drainage projects, setting a gradient with a laser level involves tilting it to project a slightly sloped line. This can be crucial for ensuring proper water run-off in landscaping, or making sure your driveway slopes away from your house to avoid flooding.
For those tackling a bigger project, such as fencing a large property, a rotary laser level is your best friend. It allows you to see level lines over long distances, up to several hundred feet. Adjusting for accuracy over such distances usually involves a bit more setup with specialized receivers that can detect the laser even in bright sunlight.
Troubleshooting Common Issues
Running into problems? Here’s what to do if your laser level isn’t performing as expected:
- Beam Visibility: If you can’t see the beam, try using a laser detector or moving to a darker environment.
- Stability Issues: Make sure the laser level is on a stable surface. Vibrations from nearby equipment can also affect accuracy, so isolate the level as much as possible.
- Accuracy Concerns: Regularly check and recalibrate your laser level according to the manufacturer’s guidelines to avoid drift or inaccuracies.
Enhancing Usage Through Accessories
Laser Detectors
Especially useful outdoors, laser detectors extend the usability of laser levels under bright conditions where the beam might otherwise be invisible.
Grade Rods
These are essential when setting foundations or grading a site. They help measure differences in elevation from the ground to the height of the laser beam.
Tripods and Mounts
A good tripod or stable mount can significantly enhance the accuracy and ease of use of your laser level, especially over uneven surfaces or at varying heights.
Using a laser level can streamline many home improvement and construction tasks, making accurate, repeatable results much easier to achieve. It’s a must-have tool in your arsenal, whether you’re a seasoned DIY enthusiast or a professional builder.

Matthew Dowell
Matthew, a seasoned builder from a family of craftsmen, leads Tools Trove. His passion for tools and decades of hands-on experience fuel his commitment to providing expert reviews and insightful content. Whether you’re a pro or a DIY enthusiast, Matthew’s guidance ensures informed decisions in the world of tools.