Hey there, DIY enthusiasts and woodworking pros! Ever found yourself frustrated with misaligned joints or poorly fitting components? Accurate inside measurements can make or break your project. Today, we’ll dive into the nitty-gritty of nailing those measurements every time. Grab your tools, and let’s get to it!
Why Accurate Measurements Matter
First things first, let’s talk about why getting your measurements right is crucial. In woodworking, cabinetry, or any DIY task, precision isn’t just a fancy term—it’s essential. Misaligned joints and parts that don’t fit can turn a masterpiece into a mess. Imagine building a beautiful cabinet only to find the shelves don’t fit. Nightmare, right?
Accurate measurements save time, materials, and your sanity. They ensure (oops, I mean they make sure) your project looks professional and functions as intended. So, let’s make sure we get it right from the get-go.
Essential Tools for Inside Measurements
Before we jump into techniques, let’s gather our trusty tools. Here’s what you’ll need:
Steel Rules
Steel rules are your best friends for precision. Unlike tape measures, steel rules have dimensions that run right to the edges. This makes them perfect for inside measurements. Just butt one rule at each end, and you’re golden.
Combination Squares
Combination squares are versatile and precise. They help you mark and measure accurately. Use them to check for squareness and to mark lines.
Calipers
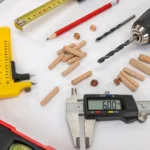
For those fine measurements, calipers (both digital and manual) are indispensable. They provide accuracy down to the millimeter, perfect for detailed work.
Quick-Clamps
Quick-clamps can be converted to spreaders, making them great for measuring inside dimensions accurately. Just switch them to the spreader position and measure from outer face to outer face.
Techniques for Accurate Inside Measurements
Now that we’ve got our tools, let’s dive into the techniques. Here’s how to get those measurements spot on.
Two-Rule Method
This method is a gem. Use two steel rules, placing one at each end of the space you’re measuring. The graduations overlap, and you can read one rule from the 10-inch mark on the other, adding 10 inches. Simple and precise.
Using a Tape Measure Correctly
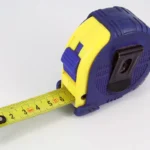
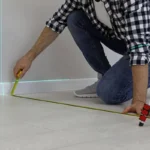
Many of us have a love-hate relationship with tape measures. For inside measurements, it’s all about the right technique. Use the tape measure body’s noted dimension, but don’t forget to add it to your reading. And always make sure (yes, make sure) your tape is parallel to the distance you’re measuring.
Pinch Rods
Pinch rods are great for long inside measurements. They’re adjustable rods that you extend to fit the space. Once they’re snug, you can measure the rod length. Perfect for those hard-to-reach spots.
Avoiding Parallax Errors
Parallax errors happen when your eye isn’t aligned with the measurement marks. To avoid this, always ensure your eye, the object, and the rule are in line. This way, you get an accurate reading without any guesswork.
Step-by-Step Guide to Making Accurate Inside Measurements
Ready to get measuring? Here’s a step-by-step guide to help you out.
Preparation
- Check Your Tools: Make sure your tools are in good condition and calibrated.
- Verify Surfaces: Ensure the surfaces you’re measuring are straight and square.
Marking and Measuring
- Set Up Your Tools: Position your steel rules, calipers, or pinch rods as needed.
- Steady Your Hand: Hold your tools steady to avoid any wobbles.
- Read Carefully: Take your time to read the measurements accurately.
Recording Measurements
Always write down your measurements immediately. Use a notebook or a digital app to keep track. This prevents any mix-ups or forgotten numbers.
Advanced Techniques and Tips
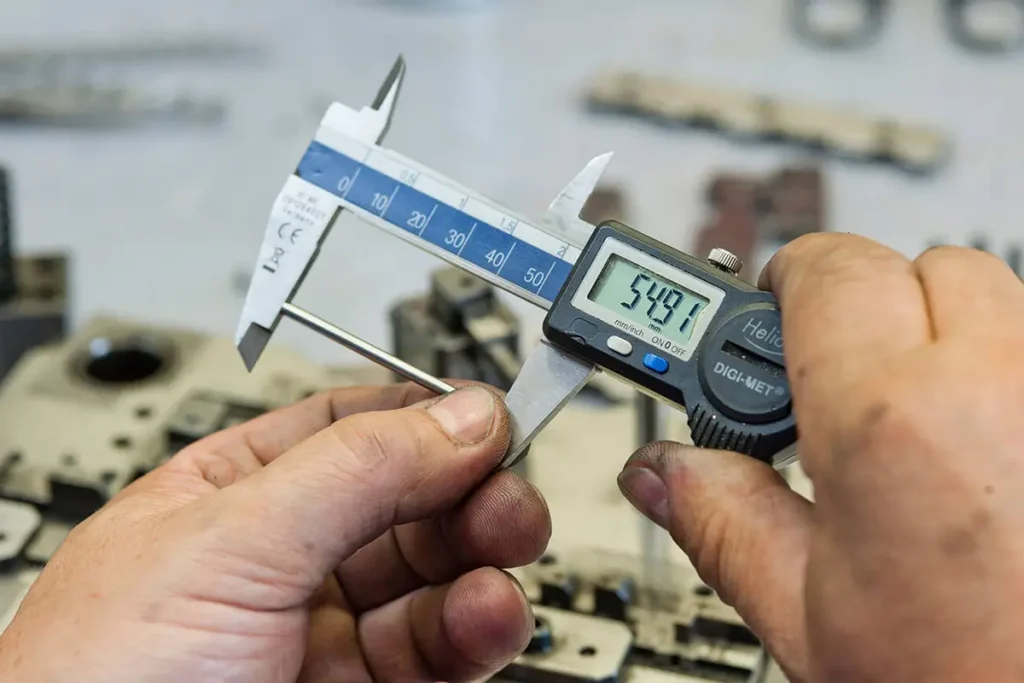
Using Digital Tools
Digital calipers and protractors are game-changers. They offer precision with easy-to-read digital displays. Perfect for those detailed tasks.
DIY Measuring Jigs
Creating your own jigs can save time and increase accuracy. Here are a couple of ideas:
- Centerline Marker: Two hardwood bars and Plexiglas links can make a nifty centerline marker. Great for drawing accurate centerlines without measuring.
- Precision Height Gauge: Use a stand for your caliper to set router bit heights with pinpoint accuracy.
Checking and Double-Checking
Double-checking is crucial. Measure twice, cut once. Verify your measurements at different stages to ensure everything fits perfectly.
Troubleshooting Common Measurement Issues
Identifying Inaccurate Tools
Tools can wear out or become inaccurate. Here’s how to spot the culprits:
- Consistency Check: Compare measurements using different tools. If they don’t match, one of them is off.
- Square Check: Draw a line with a square, flip it, and draw again. If the lines don’t match, your square is out of whack.
Correcting Measurement Mistakes
Mistakes happen. Here’s how to fix them:
- Recalibrate Tools: Ensure your tools are correctly calibrated.
- Re-measure: Take a deep breath and measure again. It’s better to catch mistakes early.
Conclusion
There you have it, folks! A comprehensive guide to making accurate inside measurements. Remember, precision is key. With the right tools and techniques, you can tackle any project with confidence. Share your tips and tricks in the comments below. Happy measuring!

Matthew Dowell
Matthew, a seasoned builder from a family of craftsmen, leads Tools Trove. His passion for tools and decades of hands-on experience fuel his commitment to providing expert reviews and insightful content. Whether you’re a pro or a DIY enthusiast, Matthew’s guidance ensures informed decisions in the world of tools.

