Pressure washing your driveway isn’t just about aesthetics; it’s about maintaining the integrity of the surface and enhancing your home’s curb appeal. Whether you’re preparing for a big event or just tackling your spring cleaning list, pressure washing can make a world of difference. But remember, with great power comes great responsibility.
Let’s get into the nitty-gritty of pressure washing your driveway, from setup to finish.
Materials Needed
Here’s what you’ll need to get started:
| Tool/Material | Purpose |
|---|---|
| Pressure Washer | Main tool for cleaning |
| Pressure Washer Detergent | Helps in removing tough stains |
| Safety Gear | Goggles, gloves, closed-toe shoes |
| Garden Hose | Connects water supply to the pressure washer |
| Broom or Brush | Pre-cleans the driveway |
| Concrete Sealant | Protects the driveway after washing |
| Nozzles and Attachments | Different nozzles for various pressure levels |
Step-by-Step Guide
Preparation
Inspect and Clear the Area: Before you start, remove any obstacles like vehicles, toys, or tools from the driveway. You don’t want anything getting in your way or worse, getting damaged.
Sweep the Driveway: Use a sturdy broom to clear away loose dirt, leaves, and debris. This initial clean-up makes the pressure washing more effective.
Pre-treat Stains: Got some stubborn oil stains or grime? Apply a degreaser or a specialized cleaner to these areas. Let it sit for the recommended time to break down the tough spots.
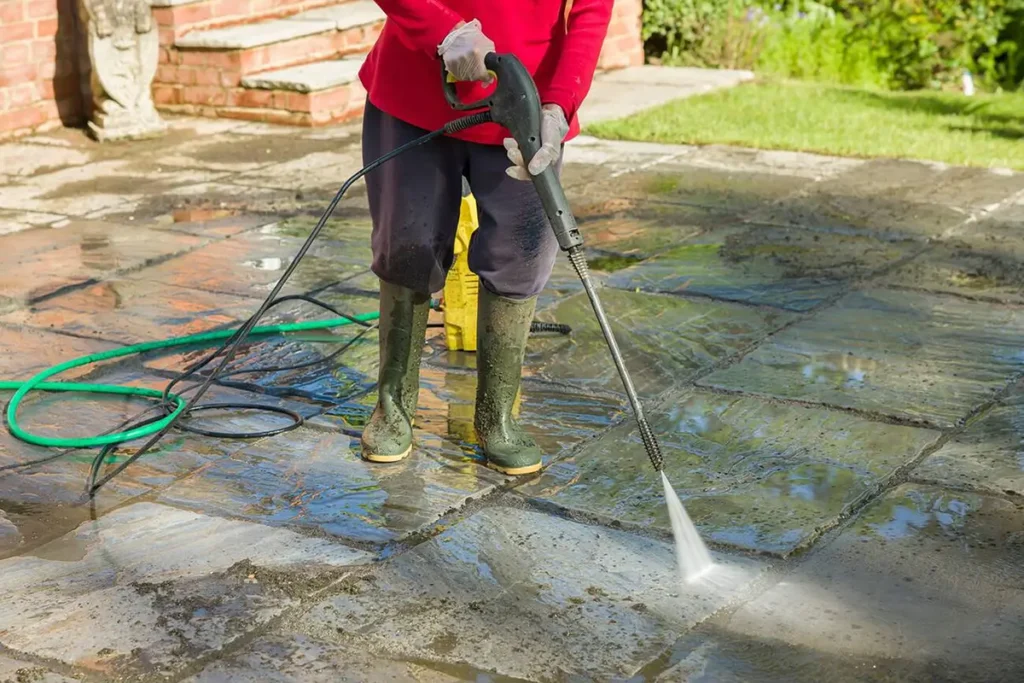
Safety Gear: Safety first! Put on your safety goggles, gloves, and closed-toe shoes. Pressure washers are powerful and can be dangerous if not handled properly.
Setting Up the Pressure Washer
Choose the Right Pressure Washer: Selecting the right machine is crucial. For driveways, you’ll need a heavy-duty washer with a PSI between 2000 and 3000. This ensures you have enough power to tackle the tough grime.
Connect the Hose and Attachments: Secure the garden hose to your pressure washer. Choose a 25-degree nozzle for general cleaning. Make sure everything is tightly connected to avoid leaks.
Mix Detergent: Fill the pressure washer’s detergent tank with the recommended mix of water and detergent. This step is vital for loosening dirt and stains.
Cleaning Process
Start with a Test: Always start with a small, inconspicuous area to test the pressure. This ensures you won’t damage the surface.
Apply Detergent: Spray the detergent solution over the driveway, starting from the top and working your way down. Use a sweeping motion and overlap each pass by a few inches. Let the detergent sit for about 10-15 minutes. Reapply if it starts to dry out.
Pressure Washing: Switch to a high-pressure nozzle and begin washing from the top of the driveway, moving in a consistent, overlapping pattern. For tougher stains, use tighter sweeps and hold the nozzle closer to the surface. Rinse thoroughly to remove all detergent and debris.
Post-Cleaning Steps
Inspect and Touch Up: Check the driveway for any missed spots or remaining stains. Give those areas another pass if needed.
Allow to Dry: Let the driveway dry completely before applying a sealant. This can take a few hours depending on the weather.
Apply Sealant: Using a roller with an extension pole, apply a concrete sealant. This step is essential for protecting the surface from future stains and damage. Allow it to cure according to the manufacturer’s instructions, usually around 24 hours.
Conclusion
Pressure washing your driveway can significantly boost your home’s curb appeal and longevity of the concrete. With these steps, you’ll have a sparkling clean driveway in no time. Got any tips or tricks? Share them in the comments below – we’d love to hear from you!

Matthew Dowell
Matthew, a seasoned builder from a family of craftsmen, leads Tools Trove. His passion for tools and decades of hands-on experience fuel his commitment to providing expert reviews and insightful content. Whether you’re a pro or a DIY enthusiast, Matthew’s guidance ensures informed decisions in the world of tools.

