Stripped screws are a common frustration in DIY projects and home repairs. They can halt your progress and, if not handled properly, cause damage to surrounding materials. Understanding how to effectively remove stripped screws can help avoid wasting time and resources.
In this guide, I’ll walk you through several methods to tackle this problem, along with preventive tips to help avoid it in the future.
What Causes a Screw to Strip?
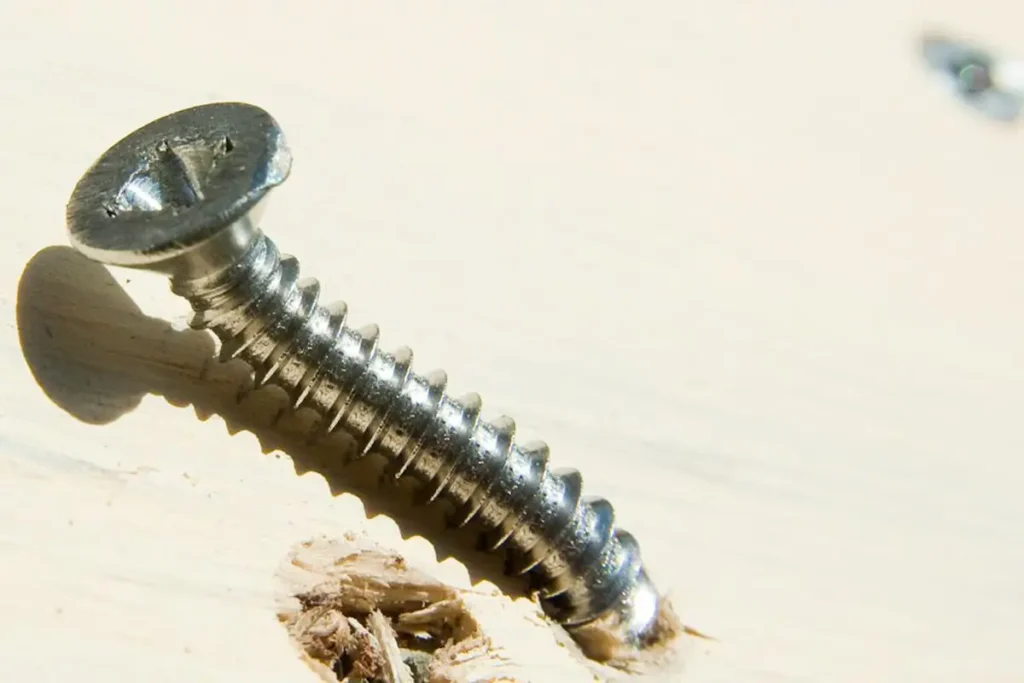
Screws typically strip due to the use of an incorrect screwdriver size, poor quality tools, or applying too much force. This mishap can lead to a damaged head, where the screwdriver no longer gains traction, making it difficult to remove the screw.
Types of Screws Prone to Stripping
Softer metals in screws, such as brass and aluminum, are more susceptible to stripping. Flat and Phillips head screws also tend to strip more easily compared to other types, like Torx or Robertson (square drive), which provide better torque and less slippage.
Tools and Materials Needed
List of Essential Tools
- Screw extractor set: A specific kit designed for stripped screws.
- Different types of screwdrivers: Phillips, flat-head, and possibly a set of precision screwdrivers.
- Pliers and a small hammer: Useful for methods involving physical manipulation of the screw.
Optional but Helpful Tools
- Rubber bands: Provides extra grip.
- Penetrating oil: Helps in loosening the screw.
- Dremel tool: For cutting a new groove into the head of the screw.
Step-by-Step Guide to Removing Stripped Screws
Using a Screw Extractor
- Select the appropriate extractor size for the screw you are dealing with.
- Prepare the screw head by drilling a small hole in its center, deep enough for the extractor to bite.
- Insert the extractor into the hole and turn it counterclockwise with a wrench or drill. The reverse threads on the extractor will grip the inside of the hole and remove the screw as it turns.
The Rubber Band Method
- Place a wide rubber band over the stripped screw head.
- Press the screwdriver into the rubber band and attempt to turn the screw. The rubber band fills the gaps in the stripped head, providing the friction needed to turn the screw.
Creating a New Groove
- Use a Dremel tool with a cutting disc to carefully cut a new slot across the head of the screw. This method is particularly useful for larger screws.
- Use a flat-head screwdriver that fits this new slot to remove the screw.
Applying Penetrating Oil
- Apply penetrating oil liberally around the head of the screw and let it sit for a few hours or overnight.
- Attempt to remove the screw after the wait, as the oil should have loosened it by penetrating the threads.
Advanced Techniques
Using Pliers for Grip
If the screw head is slightly above the surface, you can use needle-nose pliers to grip the head firmly and turn the screw out. This method is straightforward but requires some careful handling to avoid further damage.
Heating the Screw
Applying heat can expand the metal screw, making it easier to break free from corrosion or paint. Use a soldering iron or a small torch to heat the screw, but be cautious not to damage surrounding materials.
Preventive Measures
Always select the correct screwdriver size and type for the screws you are using. This simple choice can prevent most cases of stripping.
When installing screws, use appropriate force and speed. Using a drill with adjustable torque settings can help prevent over-tightening and stripping.
Removing a stripped screw can be frustrating, but with the right tools and techniques, it’s certainly manageable. Each method described here serves different scenarios, and sometimes combining them increases success rates.

Matthew Dowell
Matthew, a seasoned builder from a family of craftsmen, leads Tools Trove. His passion for tools and decades of hands-on experience fuel his commitment to providing expert reviews and insightful content. Whether you’re a pro or a DIY enthusiast, Matthew’s guidance ensures informed decisions in the world of tools.

