In the world of DIY and home improvement, the use of hand tools offers a unique blend of tradition, precision, and satisfaction that power tools sometimes lack. Opting for hand tools isn’t just about simplicity; it’s about engaging with the craft at a fundamental level. This approach allows for quieter operation, finer control, and a more intimate understanding of the materials at hand.
The resurgence of interest in hand tool projects isn’t just a nod to nostalgia but a practical choice for many hobbyists and professionals alike. Whether you’re in a small apartment with noise restrictions or you appreciate the tactile feedback that comes from manual work, hand tools can be extraordinarily rewarding. They force you to slow down, think more deeply about your process, and develop skills that power tools might otherwise overshadow.
Essential Hand Tools
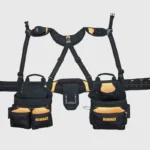
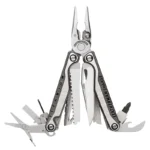
For those just starting with hand tool projects, assembling a basic toolkit is the first step. Here’s a list of essential hand tools that will equip you for a wide range of projects:
- Chisels: For carving and shaping wood. A set from ¼-inch to 1-inch will cover most needs.
- Hand Saws: Including a rip saw for cutting along the grain, and a crosscut saw for cutting across the grain.
- Hand Planes: A block plane and a smoothing plane are indispensable for surface preparation and fine finishing.
- Measuring and Marking Tools: A tape measure, a ruler, a square, and marking gauges are crucial for accurate work.
- Hammer and Mallets: Used for driving chisels and assembling joints.
- Screwdrivers and Fastening Tools: For assembly and adjustments.
Selecting high-quality tools can make a significant difference in your work. Look for well-crafted tools with comfortable handles and durable construction. Proper maintenance, including regular cleaning, sharpening, and storage, will preserve the functionality and longevity of your tools, ensuring they remain reliable for years to come.
Project Selection Criteria
Choosing your first hand tool project can be as daunting as it is exciting. The right project not only provides a satisfying end product but also teaches you skills and techniques that form the building blocks of more advanced woodworking.
Here are a few criteria to consider when selecting a project:
- Project Size: It’s often best to start small but avoid projects that are tiny and intricate, as they can be unforgiving for beginners. Projects like a small table or a simple stool offer manageable complexity but enough scope to practice different skills.
- Complexity and Necessary Skills: Choose a project that matches your current skill level but challenges you slightly. A project that uses a single type of joint, like a mortise and tenon or a dovetail, allows you to practice and perfect it without feeling overwhelmed.
- Time and Material Investment: Consider how much time and money you’re willing to invest. Some projects can be made with scrap wood and minimal new purchases, making them ideal for beginners.
Suggested Starter Projects
i. Side Table
Starting with a side table is an excellent introduction to fundamental woodworking skills, particularly joinery. A basic side table typically includes four legs, a top, and possibly an apron connecting the legs for stability. Using mortise and tenon joints for this project helps you understand how to measure, cut, and fit parts together accurately. The process involves marking out the dimensions on your lumber, cutting the wood to size, and carefully chiseling out the joints. This project not only teaches precision but also provides a practical piece of furniture for your home.
ii. Bookshelf
A bookshelf is a practical project that scales up your skills from a side table by incorporating additional elements like shelves and possibly a back panel. You can choose between using fixed or adjustable shelves, which introduces different types of joinery such as dados for fixed shelves or drilling for shelf pins for adjustable ones. This project emphasizes layout accuracy, the ability to plane and square your lumber, and introduces basic cabinet-making techniques that are fundamental in many other woodworking projects.
iii. Wall Shelf
A wall shelf offers a wonderful introduction to making furniture that is both functional and decorative. Typically simpler than a full bookshelf, a wall shelf might use a variety of joints, from simple butt joints to more refined dovetails, depending on your design preference. This project is ideal for practicing planing and joining techniques, ensuring the shelf is both aesthetically pleasing and functional. You’ll learn about hanging systems and how to ensure your shelf can support weight when mounted.
iv. Stool
Building a stool involves a bit more complexity, particularly if you introduce curved or angled legs. This project will test your ability to work with angles and joinery in a three-dimensional structure. You’ll need to accurately measure and cut each piece to ensure stability. The stool can be a stepping stone to more complex furniture like chairs and tables, as it involves similar skills but on a smaller scale.
v. Simple Box
A simple box is an excellent project for beginners to learn about making tight joints and working with precise measurements. You can choose from various joint types such as finger joints, rabbets, or dovetails, each providing a different aesthetic and strength level. This project is excellent for practicing cutting techniques and perfecting the art of creating snug-fitting lids and bases.
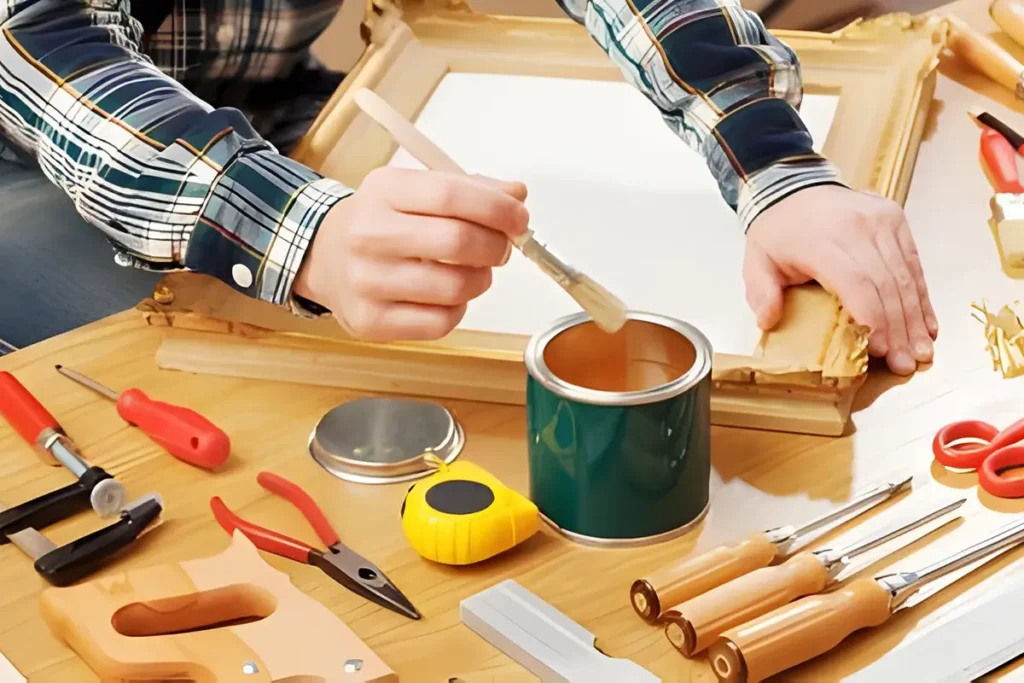
vi. Picture Frame
Creating a picture frame is a project that teaches you about miter joints and the importance of exact angles. You’ll need to cut four pieces of wood at a 45-degree angle that come together perfectly to form the corners of the frame. This project is particularly good for practicing precise cutting and measuring, as any inaccuracies will be visible at the corners. You’ll also explore options for mounting the picture, such as using glazier’s points or small brads.
vii. Tool Caddy
Building a tool caddy is not only a practical entry into woodworking but also a project that allows you to store the very tools you use. This caddy can be as simple or as complex as you like, typically involving partitions and possibly drawers or a lifting lid. Using hand tools, you can practice creating dado cuts for partitions and rabbet joints for the drawers. This project enhances organizational skills and provides a tangible utility item for your workshop. It’s an excellent way for beginners to get a feel for various tools and techniques while producing something that aids in keeping their workspace organized.
viii. Cutting Board
A cutting board is a straightforward project that introduces you to the essentials of selecting good wood, understanding grain direction for durability, and finishing techniques that are safe for food contact. This project involves planning the wood to size, cutting it to shape, and then sanding it down to a smooth finish. You will learn about different types of wood and why some are better suited to cutting boards due to their hardness and resistance to bacteria. Finishing with mineral oil or a beeswax blend will teach you about the properties of different finishes and how they protect the wood while being safe for food contact.
ix. Coat Rack
A coat rack is a functional project that can be stylized in numerous ways. This project typically involves selecting a piece of wood for the base and then adding hooks. The simplicity of the coat rack allows you to focus on layout, drilling precise holes for the hooks, and perhaps experimenting with different wood finishes. You can enhance this project by carving designs into the wood or incorporating unusual materials for the hooks. It teaches planning and layout skills, drilling accuracy, and the basics of artistic customization.
x. Step Stool
A step stool is a slightly more complex project that combines utility with an introduction to furniture making. This project may involve angles and joining techniques that are more complex than a flat piece of furniture. Building a step stool teaches you about designing for strength and usability, as it must safely support weight. You’ll work on precise cutting for the legs and steps, and joinery that holds everything securely. This is an excellent project to practice skills that will be useful in more advanced furniture projects, such as chairs and tables.

Matthew Dowell
Matthew, a seasoned builder from a family of craftsmen, leads Tools Trove. His passion for tools and decades of hands-on experience fuel his commitment to providing expert reviews and insightful content. Whether you’re a pro or a DIY enthusiast, Matthew’s guidance ensures informed decisions in the world of tools.